原生Socket构建一个MVC服务器——webApi
功能特性
- 基础的Restful风格请求(Post、Get、Put、Delete)
- JSON作为请求体传参
- Query参数传参:
?param1=10¶m2=20 - 路径参数传参(动态路径):
test/{id} - 响应报文封装,支持
text/html与JSON格式返回 - 全局异常捕捉处理
- 拦截器处理(请求预处理)
快速上手
-
将webApi包放在项目中,新建一个
py文件(例子名为example.py) -
写入以下代码:
from webApi.route import Get
import webApi

@Get('/hello')
def index(request):
    return {"message": "Hello World"}

if __name__ == '__main__':
    webApi.run('localhost', 8003) # 监听地址,端口号
- 当前路径打开终端,输入以下指令:
python example.py

- 新开一个终端,输入以下命令(用Postman也行):
curl GET http://localhost:8003/hello
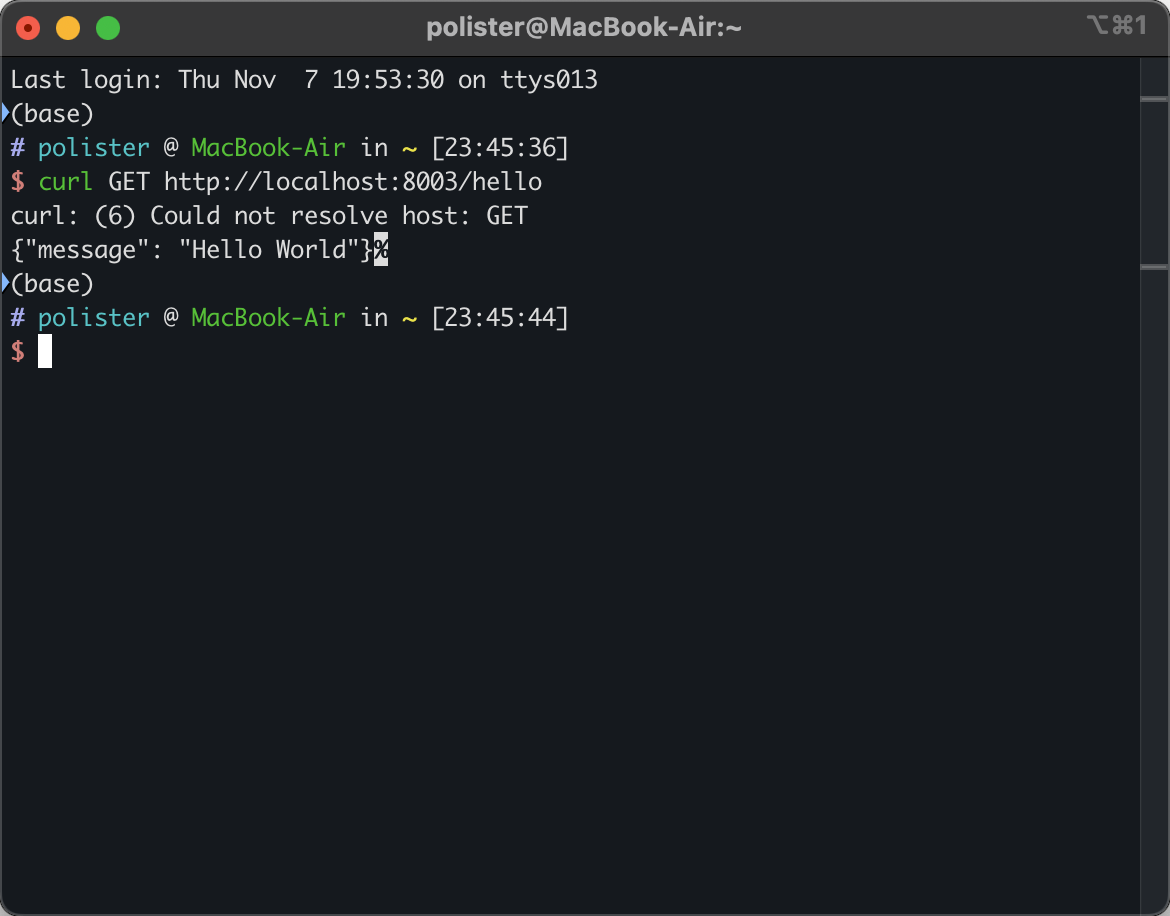
- That's all.
用法介绍
监听路由设置
目前所支持的四个请求方法均在webApi.route包下,只需按需引入,使用装饰器标记处理函数即可,处理函数必须有一个参数,用于传递请求信息(可以不用,但不能没有)。
- Get
- Post
- Put
- Delete
from webApi.route import Get, Post, Put, Delete
from webApi.constants import ResponseMethod
import webApi


@Get('/hello', response_type=ResponseMethod.JSON)
def index(request):
    return {"message": "Hello World"}


@Post('/hello', ResponseMethod.HTML)
def handle(request):
    return "<h1>hello world</h1>"


@Delete('/hello')
def handle(request):
    return {"message": "Hello World"}


@Put('/hello')
def handle(request):
    return {"message": "Hello World"}
返回数据类型设置
目前支持两种返回类型:
- JSON
- HTML/TEXT
使用from webApi.constants import ResponseMethod引入返回类型后在装饰器中传入类型参数即可。
参数获取方式
@Post('/hello/{id}', response_type=ResponseMethod.JSON)
def index(request):
    print(request['query']['test'])
    print(request['body'])
    print(request['path_values']['id'])
    return {"message": "Hello World"}
支持三种方式传参:
- Query:使用
request['query'][参数字段名]获取,如/hello/23?test=1则为request['query']['test'] - 请求体(仅支持JSON): 已解构为dict,使用
request['body']获取 - 路径参数:使用
request['path_values'][参数字段名]获取
其他参数获取方式
放一个表,可以按需获取:
    {
        "method": method, // 请求方法(str)
        "path": parse_url.path, // 请求路由(str)
        "query": query_params, // query参数(dict)
        "headers": headers, // 请求头(dict)
        "body": json_body, // 请求体(dict)
      	"path_values":  // 路径参数(dict)
    }
全局异常处理
用于在装饰器下函数错误的捕捉,实际应用中,出错处理返回更友好的json对前端也友好,用法:
- 位于
webApi.exceptionHandler.exception_handler,需要导入
from webApi.exceptionHandler import exception_handler

@exception_handler(Exception, ResponseMethod.JSON)
def error_handler():
    return {'error': traceback.format_exc()}
与监听路由类似,只需在处理函数前面加上@exception_handler装饰器即可启用,两个参数说明:
- 需要捕捉的错误类
- 返回的格式
在函数内做错误处理并返回结果即可。
拦截器链
拦截器链主要用于拦截请求,在执行运行函数之前进行校验,在一些场景下的请求拦截比较有用(如登录拦截,权限拦截)。
- 位于
webApi.interceptor,需要导入使用。 - 自行实现的拦截器需要继承
interceptor.Interceptor类,并重写run方法 - 当不返回任何值(返回
None)的时候,代表放行,如果需要拦截,返回的内容即为服务器响应的内容 - 定义完成后,需要使用
interceptor.interceptor_manager.add_interceptor(interc())将实例传入拦截器管理才能生效! - 拦截器链执行顺序为上一条中
add_interceptor的顺序!
以下是一个demo:
import webApi.interceptor as interceptor
from webApi.responseHandler import response_handler
import traceback

class interc(interceptor.Interceptor):
    def __init__(self):
        interceptor.Interceptor.__init__(self)

    def run(self):
        self.set_allow_request_method(RequestMethod.GET.value) # 不拦截的方法
        if self.check_method():
            return

        return response_handler(200, {"inter_e": "拦截器拦截了"}, ResponseMethod.JSON)


interceptor.interceptor_manager.add_interceptor(interc())
- 目前集成的拦截参数,路由列表和IP支持正则匹配:
    def set_allow_request_method(self, methods: List[str]):
        """设置允许的请求方法列表"""
    def set_allow_request_route(self, routes: List[str]):
        """设置允许的请求路由列表"""
    def set_allow_request_ip(self, ip_list: List[str]):
        """设置允许的 IP 列表"""
设置后,**需要在重写的run方法中调用对应的check_**方法才能进行检查!!**检查通过返回True,不通过返回False。
主要技术
使用纯py集成库+socket实现,无需额外安装依赖。
主要通过装饰器与warps实现AOP增强
对于路由匹配,使用了前缀匹配树
对于多请求,使用了线程池与localThread实现线程安全处理
待实现
- 文件传输(multipart)
- 所有请求方式
- 跨域相关处理
- websocket